Fernleigh Track

4 h to 6 h

2 h to 3 h
3 h 30 min to 6 h 30 min

15 km
oneway

↑ 201 m
↓ -189 m

Smooth & flat
Starting from the intersection of Gen Street and Railway Parade, Belmont, this walk takes you to Adamstown via the Fernleigh Track. This moderately easy walk follows the Fernleigh Track, a shared-use rail trail built along the former Belmont railway line between Adamstown and Belmont, with interpretive signage telling the story of the railway and the coal mines it serviced. Remnants of the original railway can be seen along the way, including the former stations' platforms, and there are shops and cafés available nearby at every stop, as well as drinking fountains and public toilets. From Belmont, near the picturesque Lake Macquarie harbour, the walk initially follows a boardwalk through the Belmont Wetland State Park, then heads through coastal heath past an ancient sand dune system before reaching Jewells Station. After passing Redhead, the walk climbs gently through native bushland to Whitebridge Station, then meanders along Tin Hare Creek past the Burwood Colliery Dam. From there, the walk heads through the Glenrock State Conservation Area past Kahibah, then passes through the 180m Fernleigh Tunnel beneath the Pacific Highway before reaching Adamstown. This walk consists of wide, mostly flat, shared-use bitumen paths with boardwalk sections. It is suitable for all ages and fitness levels, as well as prams and wheelchairs, and can be done in either direction. Let us begin by acknowledging the Traditional Custodians of the land on which we travel today, and pay our respects to their Elders past and present.
Show all
Photo by admin, 2010.
Old Belmont Railway Line cycleway. | Photo by admin, 2008.
Photo by admin, 2008.
Photo by admin, 2010.
Nice pace for a rest on Belmont Cycleway. | Photo by admin, 2010.
Old Kahibah Train station sign. | Photo by admin, 2010.
Photo by admin, 2008.
Following Burwood Road. | Photo by admin, 2008.
Photo by admin, 2008.
Impressive Gully on Burwood Road. | Photo by admin, 2010.
Photo by admin, 2008.
Downloads GPX PDF

+
-
Safer Bushwalks
Tips on staying safe on track
Before you start any bushwalk ensure you;
• Tell someone you trust where you are going and what to do if you are overdue
• Have adequate equipment, supplies, skills & knowledge for the whole journey
• Consider the impact of weather forecasts, park/track closures & fire dangers
• Can respond to emergencies & call for help at any point
• Are healthy and fit enough for this journey
If not, change plans and stay safe. It is okay to delay and ask people for help.
+
-
Getting There
Transport options and directions
Start (-33.0388864,151.6610386)
Mode Bus Car
DirectionsFrom , Belmont.
Finish From the Fernleigh Track (-32.9358825,151.7176313)
Mode (end) Car Shuttle   Bus   Car   Train  
+
-
Track Notes
Turn by turn instructions & maps
Getting started
From the intersection of Gen Street and Railway Parade, Belmont, head along the bitumen path that runs parallel to Railway Parade, passing a couple of wooden benches and a 'Fernleigh Track' interpretive sign (to your left). From there, follow the Fernleigh Track ahead and continue the Fernleigh Track (Belmont to Adamstown).....
Turn map Directions & comments
Start.
After 180 m pass a seat (4 m on your left).
Then pass the water tap (8 m on your left).
From the Fernleigh Track continue straight, to head along Fernleigh Track.
After another 8 m pass the toilet (5 m on your left).
After another 25 m (from the Fernleigh Track) continue straight, to head along Fernleigh Track.
After another 65 m pass the car park (15 m on your left).
After another 150 m cross the bridge (about 20 m long)
After another 25 m (at the intersection of Fernleigh Track & George Fire Trail) continue straight, to head along Fernleigh Track.
After another 245 m pass a seat (on your right).
After another 245 m pass the sign (on your right).
After another 470 m (at the intersection of Fernleigh Track & Merleview Fire Trail) continue straight, to head along Fernleigh Track.
After another 210 m pass a seat (on your right).
After another 255 m pass a seat (7 m on your right).
After another 125 m (from the Fernleigh Track) continue straight, to head along Fernleigh Track.
After another 350 m pass a seat (9 m on your right).
After another 620 m (at the intersection of Fernleigh Track & Wildflower Walk) continue straight, to head along Fernleigh Track.
After another 25 m pass a seat (on your right).
After another 400 m pass the water tap (15 m on your left).
After another 5 m pass a seat (4 m on your left).
From the Fernleigh Track continue straight, to head along Fernleigh Track.
After another 45 m pass a seat (5 m on your right).
From the Fernleigh Track continue straight, to head along Fernleigh Track.
After another 10 m (at the intersection of Fernleigh Track & Kalaroo Road) continue straight, to head along Fernleigh Track.
After another 90 m pass a seat (65 m on your right).
After another 65 m (from the Fernleigh Track) continue straight, to head along Fernleigh Track.
After another 90 m pass a seat (on your left).
After another 180 m (from the Fernleigh Track) continue straight, to head along Fernleigh Track.
After another 210 m pass a seat (on your left).
After another 170 m (from the Fernleigh Track) continue straight, to head along Fernleigh Track.
After another 155 m (from the Fernleigh Track) continue straight, to head along Fernleigh Track.
After another 500 m pass a seat (on your right).
After another 210 m (from the Fernleigh Track) continue straight, to head along Fernleigh Track.
After another 100 m (from the Fernleigh Track) continue straight, to head along Fernleigh Track.
After another 115 m pass a seat (4 m on your right).
After another 490 m (from the Fernleigh Track) continue straight, to head along Fernleigh Track.
After another 9 m pass the water tap (20 m on your right).
Then pass a seat (25 m on your right).
At the intersection of Fernleigh Track & Cowlishaw Street continue straight, to head along Fernleigh Track.
After another 25 m pass a seat (on your right)., has a backrest.
After another 215 m (from the Fernleigh Track) continue straight, to head along Fernleigh Track.
After another 35 m (from the Fernleigh Track) continue straight, to head along Fernleigh Track.
After another 50 m (from the Fernleigh Track) continue straight, to head along Fernleigh Track.
After another 45 m (from the Fernleigh Track) continue straight, to head along Fernleigh Track.
Then pass the sign (on your left).
After another 65 m (from the Fernleigh Track) continue straight, to head along Fernleigh Track.
After another 75 m (from the Fernleigh Track) continue straight, to head along Fernleigh Track.
After another 60 m (from the Fernleigh Track) continue straight, to head along Fernleigh Track.
After another 290 m pass a seat (5 m on your left).
After another 360 m (from the Fernleigh Track) continue straight, to head along Fernleigh Track.
After another 40 m pass a seat (8 m on your right).
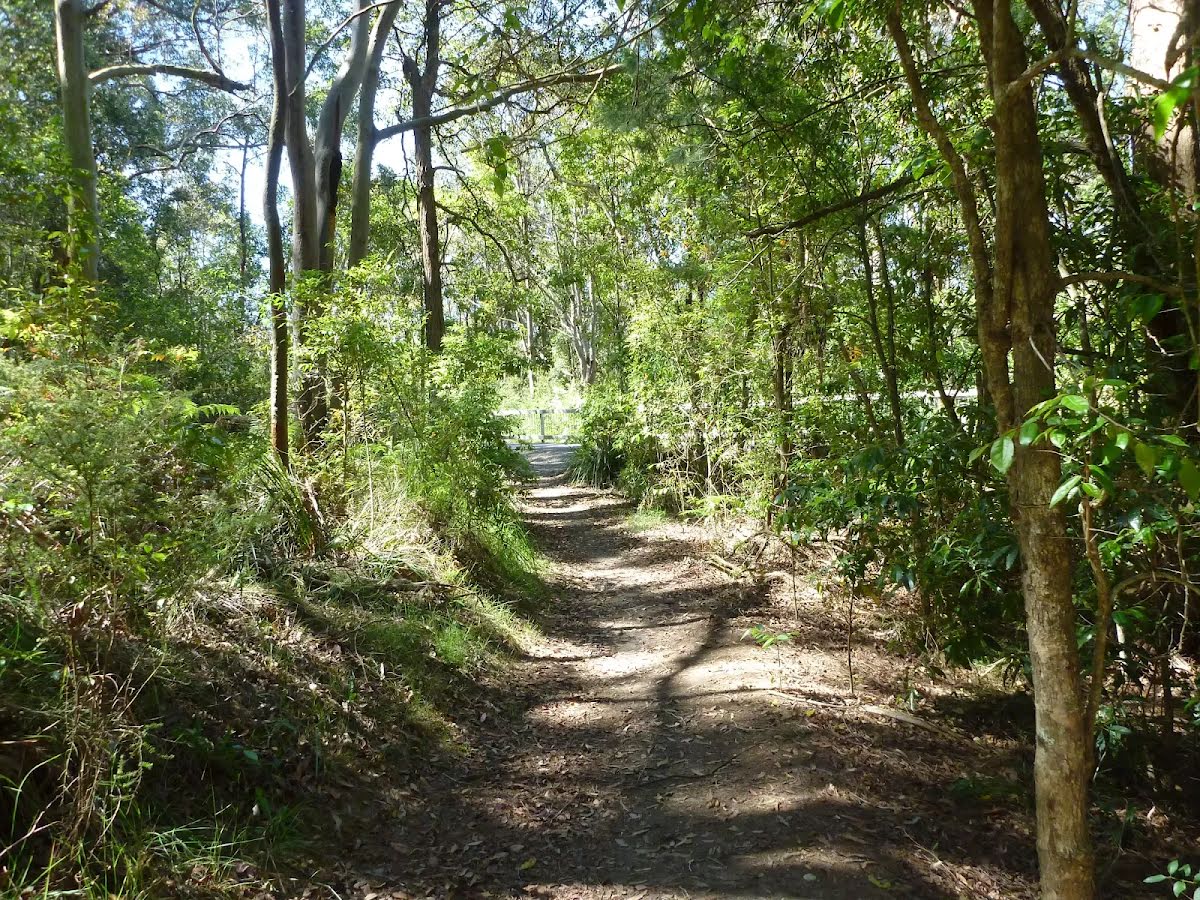
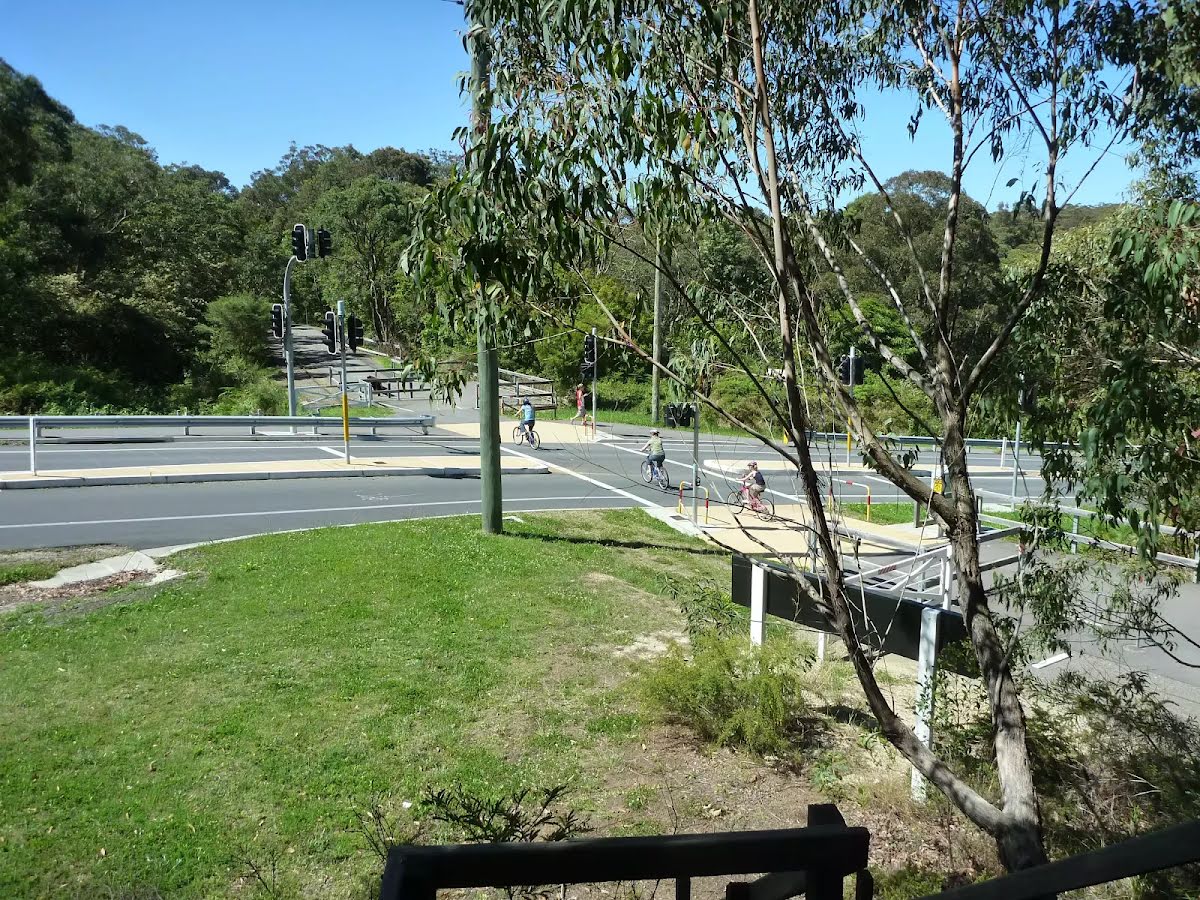
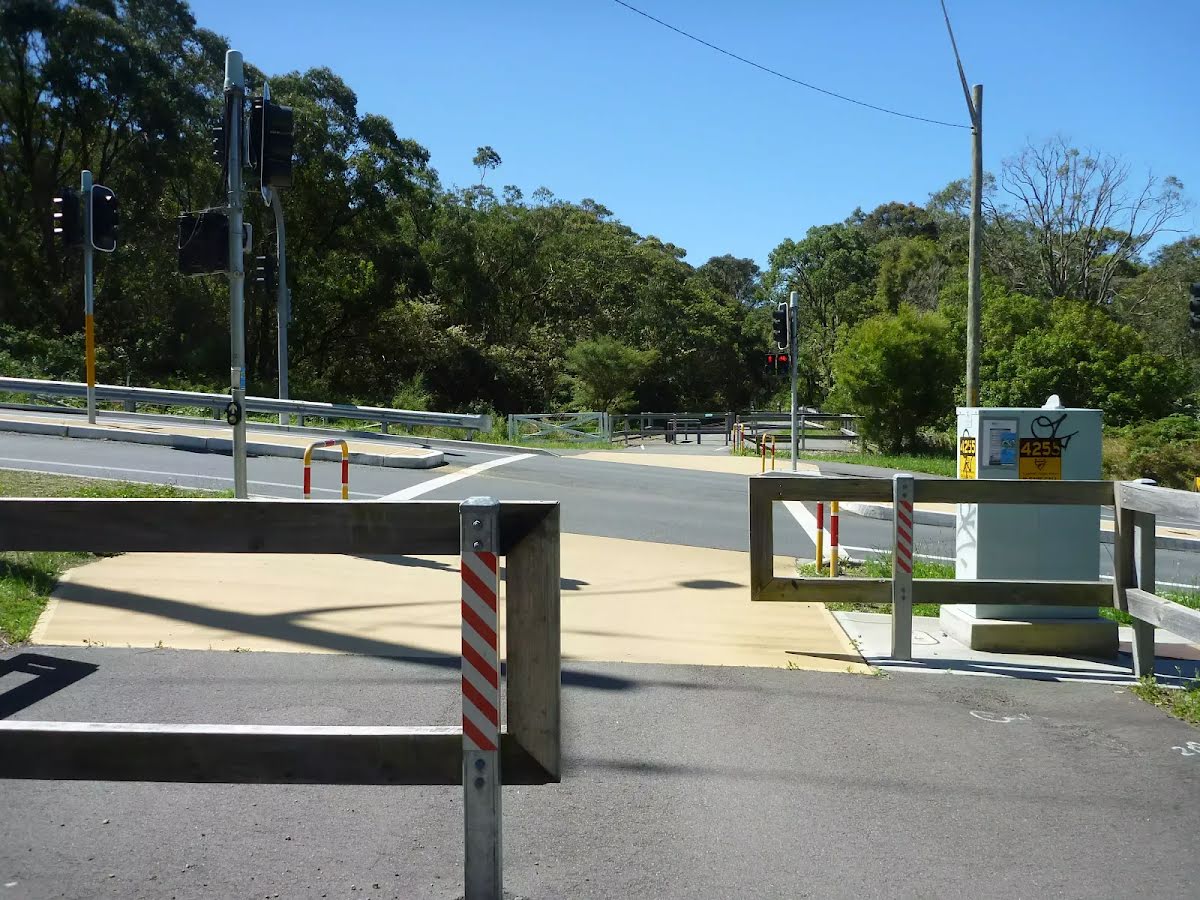
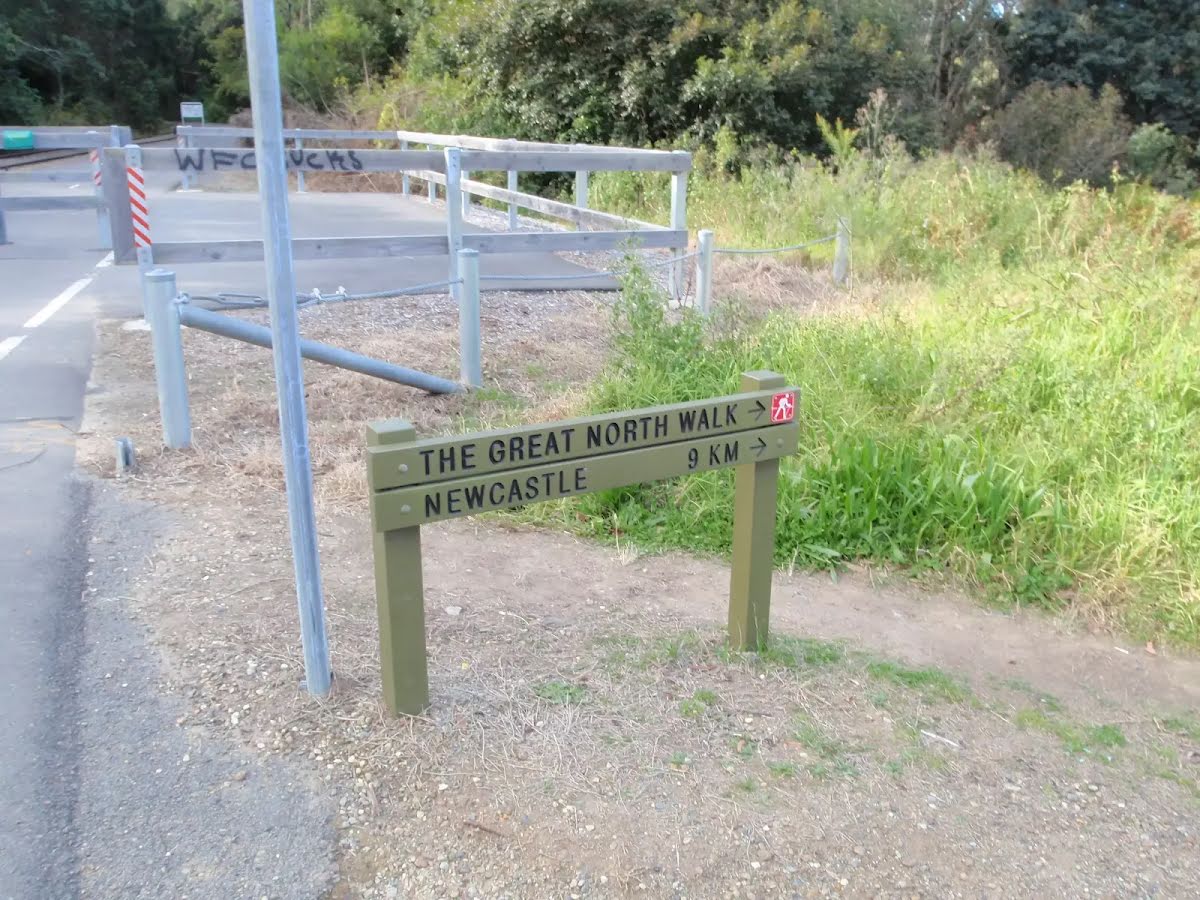
After another 200 m (at the intersection of Fernleigh Track & Dueling Banjos) continue straight, to head along Fernleigh Track.
After another 10 m (at the intersection of Fernleigh Track & Old Dump Climb) continue straight, to head along Fernleigh Track.
After another 370 m pass a seat (on your left).
From the Fernleigh Track continue straight, to head along Fernleigh Track.
After another 110 m (from the Fernleigh Track) continue straight, to head along Fernleigh Track.
After another 65 m pass a seat (on your left).
After another 55 m (from the Fernleigh Track) continue straight, to head along Fernleigh Track.
After another 215 m pass a seat (5 m on your right).
After another 270 m (from the Fernleigh Track) continue straight, to head along Fernleigh Track.
Then pass a seat (on your right).
After another 80 m (from the Fernleigh Track) continue straight, to head along Fernleigh Track.
After another 115 m (from the Fernleigh Track) continue straight, to head along Fernleigh Track.
After another 25 m (from the Fernleigh Track) continue straight, to head along Fernleigh Track.
After another 130 m pass a seat (10 m on your right).
After another 210 m pass a seat (4 m on your left).
From the Fernleigh Track continue straight, to head along Fernleigh Track.
After another 15 m (from the Fernleigh Track) continue straight, to head along Fernleigh Track.
After another 305 m pass a seat (on your left).
From the Fernleigh Track continue straight, to head along Fernleigh Track.
After another 165 m (from the Fernleigh Track) continue straight, to head along Fernleigh Track.
After another 35 m pass a seat (5 m on your right).
After another 15 m (from the Fernleigh Track) continue straight, to head along Fernleigh Track.
After another 70 m (from the Fernleigh Track) continue straight, to head along Fernleigh Track.
After another 550 m pass the toilet (15 m on your right).
From the Fernleigh Track continue straight, to head along Fernleigh Track.
Then pass the car park (25 m on your right).
After another 15 m pass the water tap (10 m on your right).
After another 20 m (from the Fernleigh Track) continue straight, to head along Fernleigh Track.
After another 250 m (from the Fernleigh Track) continue straight, to head along Fernleigh Track.
After another 260 m (from the Fernleigh Track) continue straight, to head along Fernleigh Track.
After another 10 m cross the bridge (about 10 m long)
After another 10 m pass a seat (on your right).
After another 25 m (from the Fernleigh Track) continue straight, to head along Fernleigh Track.
After another 30 m pass a seat (15 m on your right).
After another 35 m pass the "Heywood Wilkinson Park" (65 m on your right).
After another 25 m (from the Fernleigh Track) continue straight, to head along Fernleigh Track.
After another 8 m (from the Fernleigh Track) continue straight, to head along Fernleigh Track.
After another 300 m pass a seat (5 m on your right).
After another 30 m pass a seat (on your left).
After another 30 m cross the bridge (about 20 m long)
After another 510 m (from the Fernleigh Track) continue straight, to head along Fernleigh Track.
Then pass a seat (on your left).
After another 230 m pass a seat (on your left).
At the intersection of Fernleigh Track & Burwood Fire Trail continue straight, to head along Fernleigh Track.
After another 130 m (from the Fernleigh Track) continue straight, to head along Fernleigh Track.
After another 85 m head through the bicycle barrier.
After another 15 m pass a seat (10 m on your right).
From the Fernleigh Track veer right, to head along Fernleigh Track.
After another 10 m (at the intersection of Fernleigh Track & Burwood Road) continue straight, to head along Fernleigh Track.
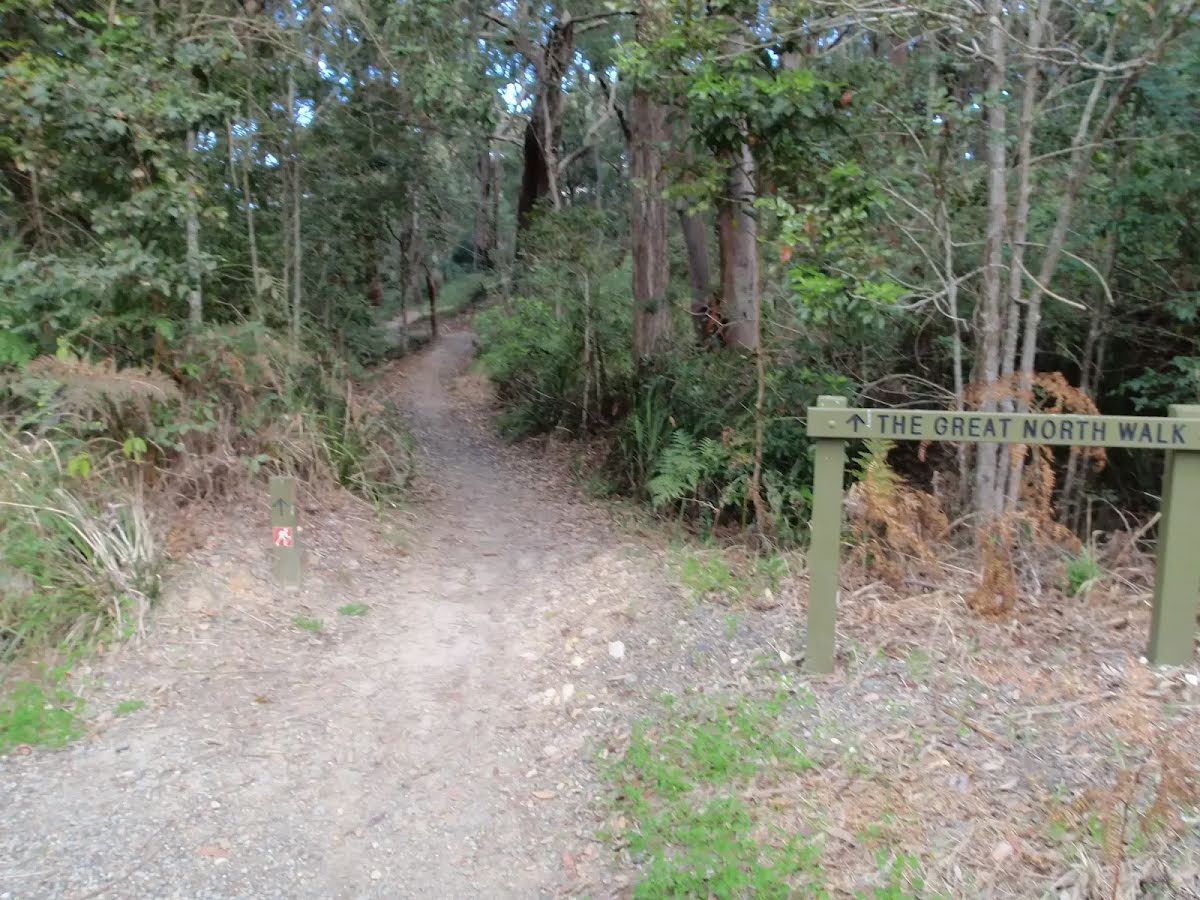
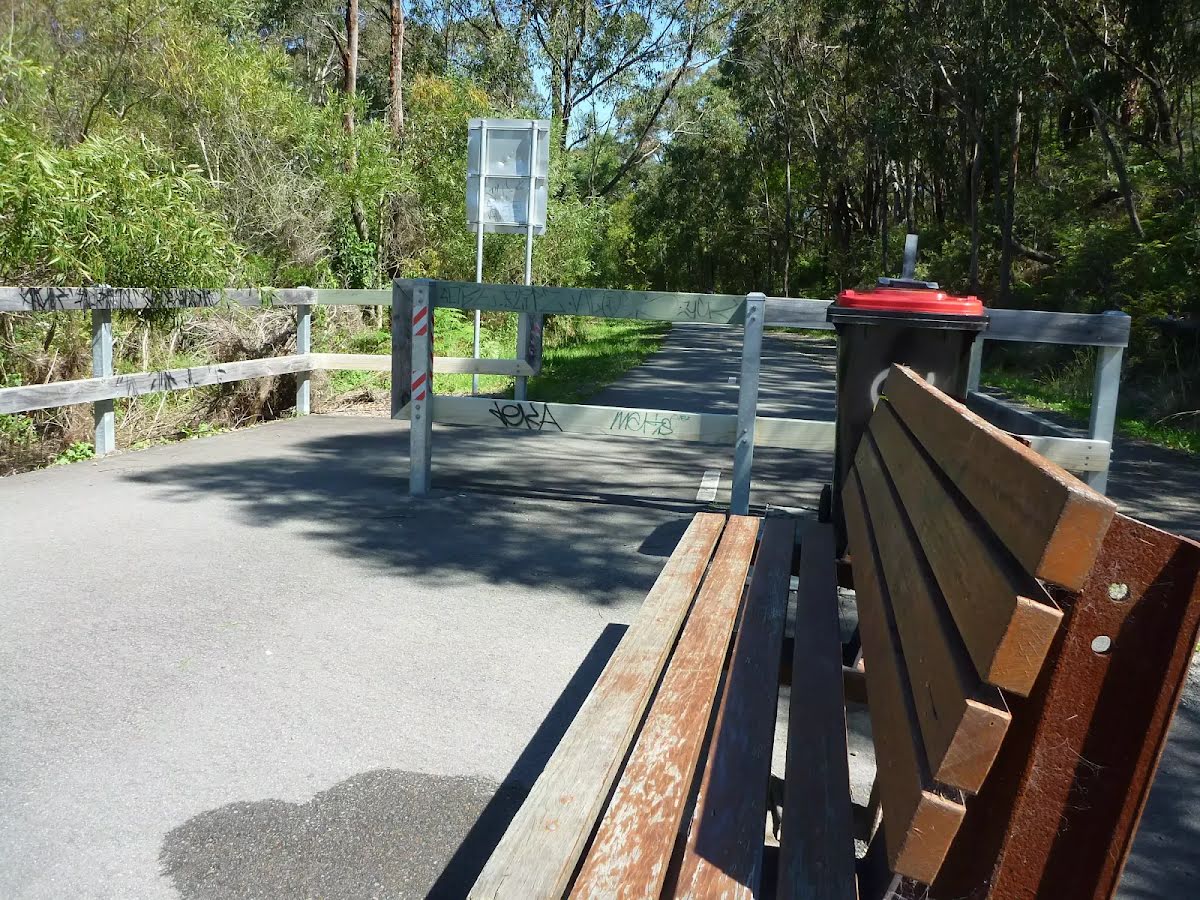
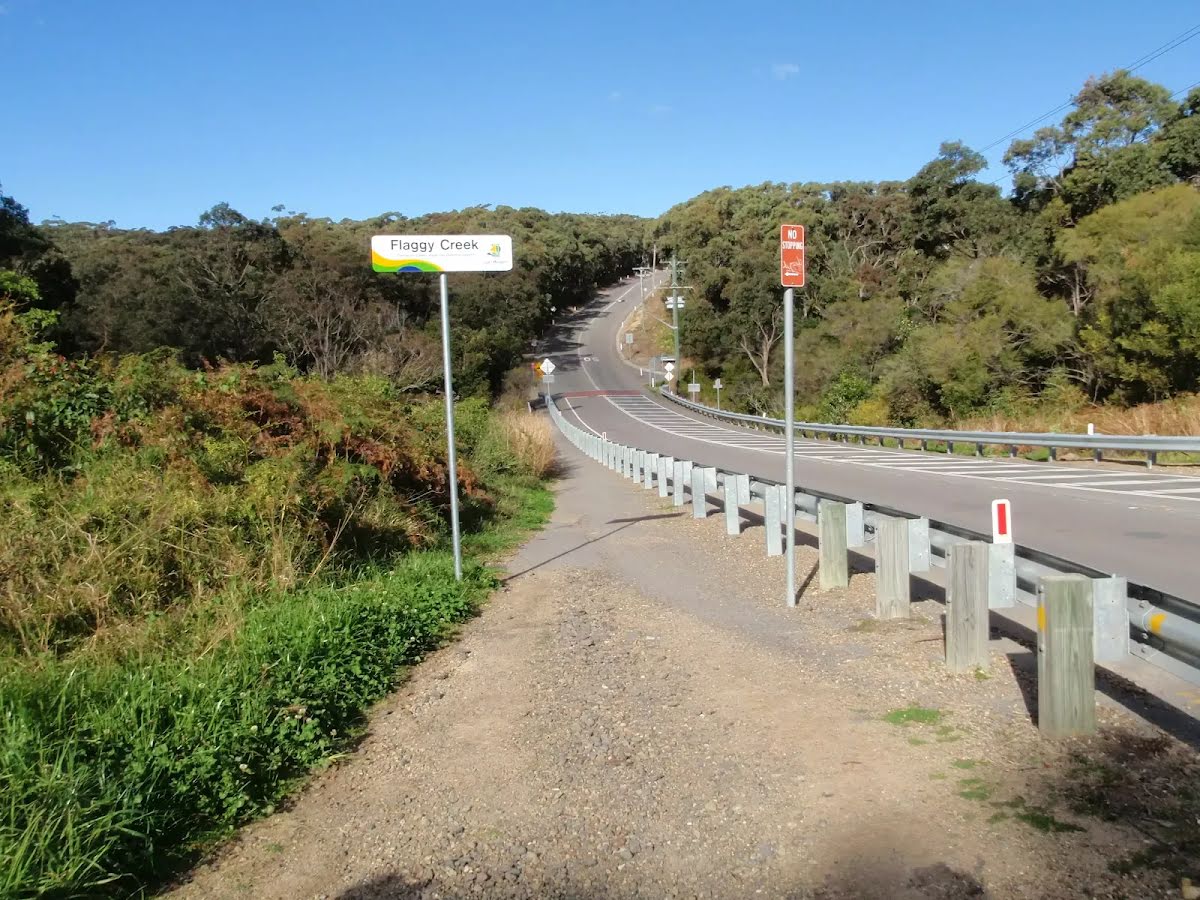
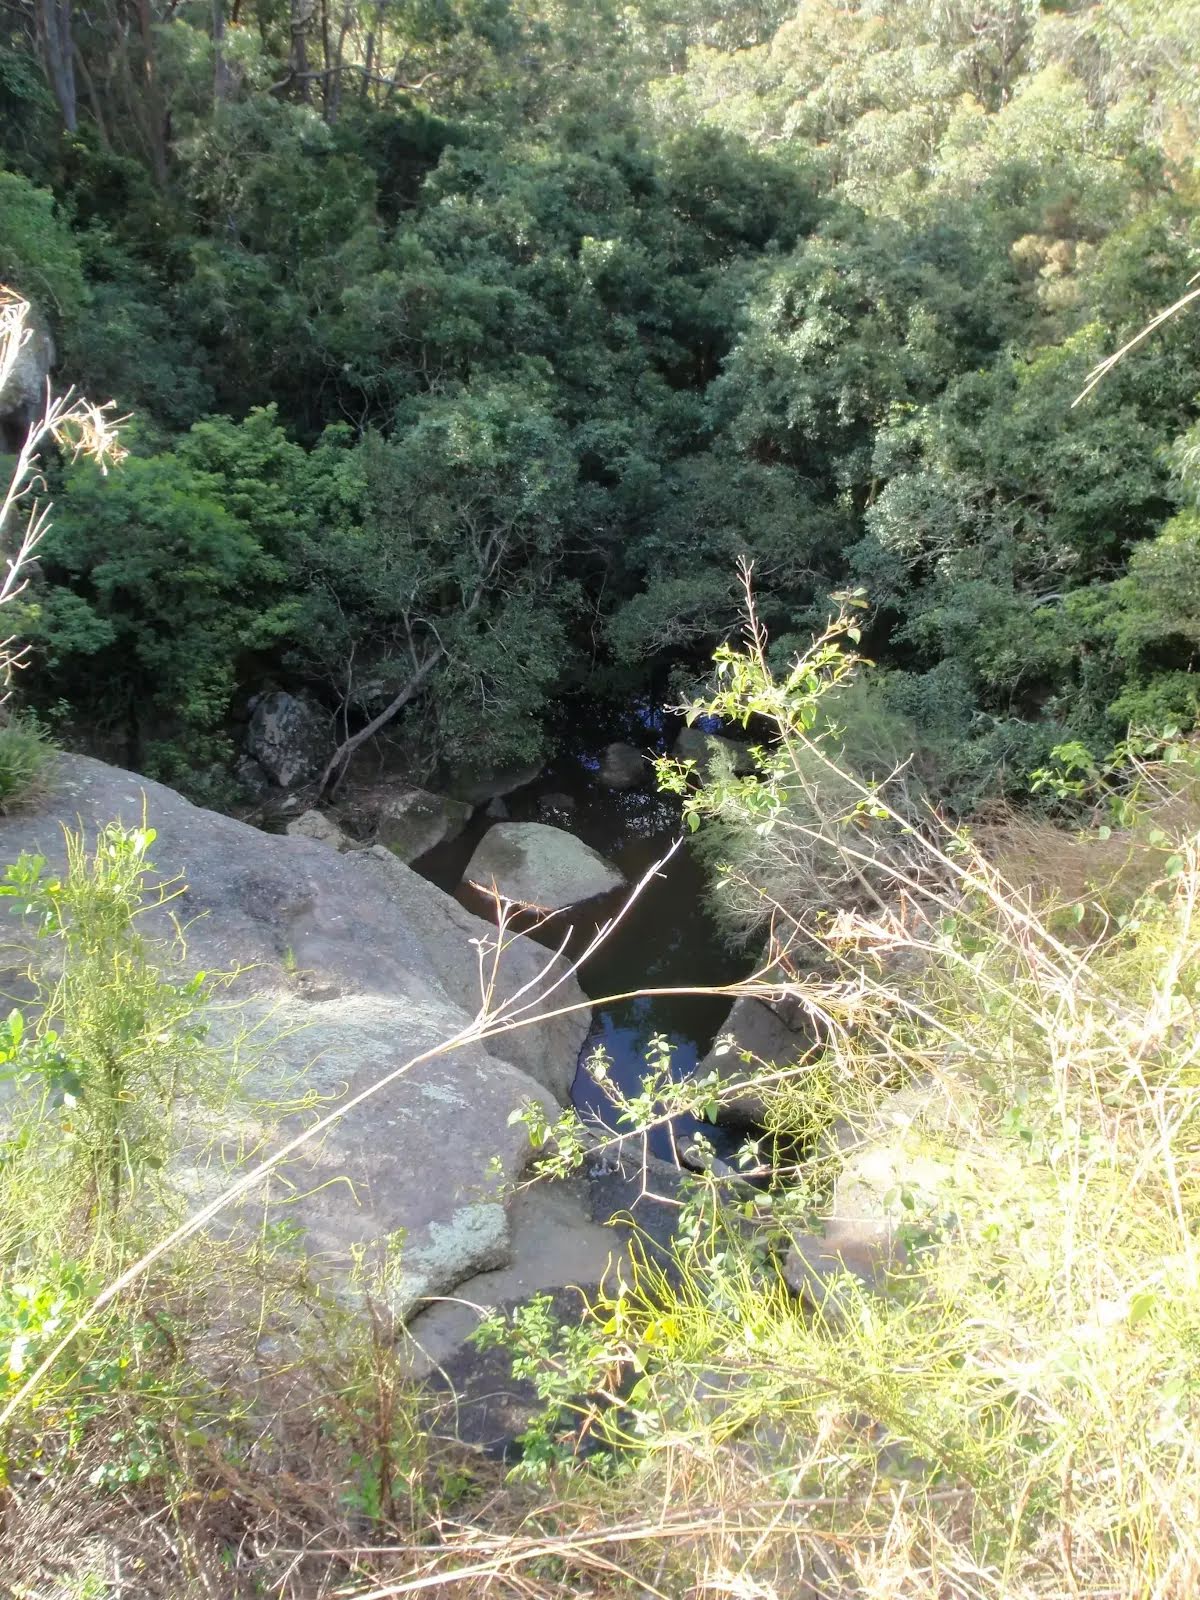
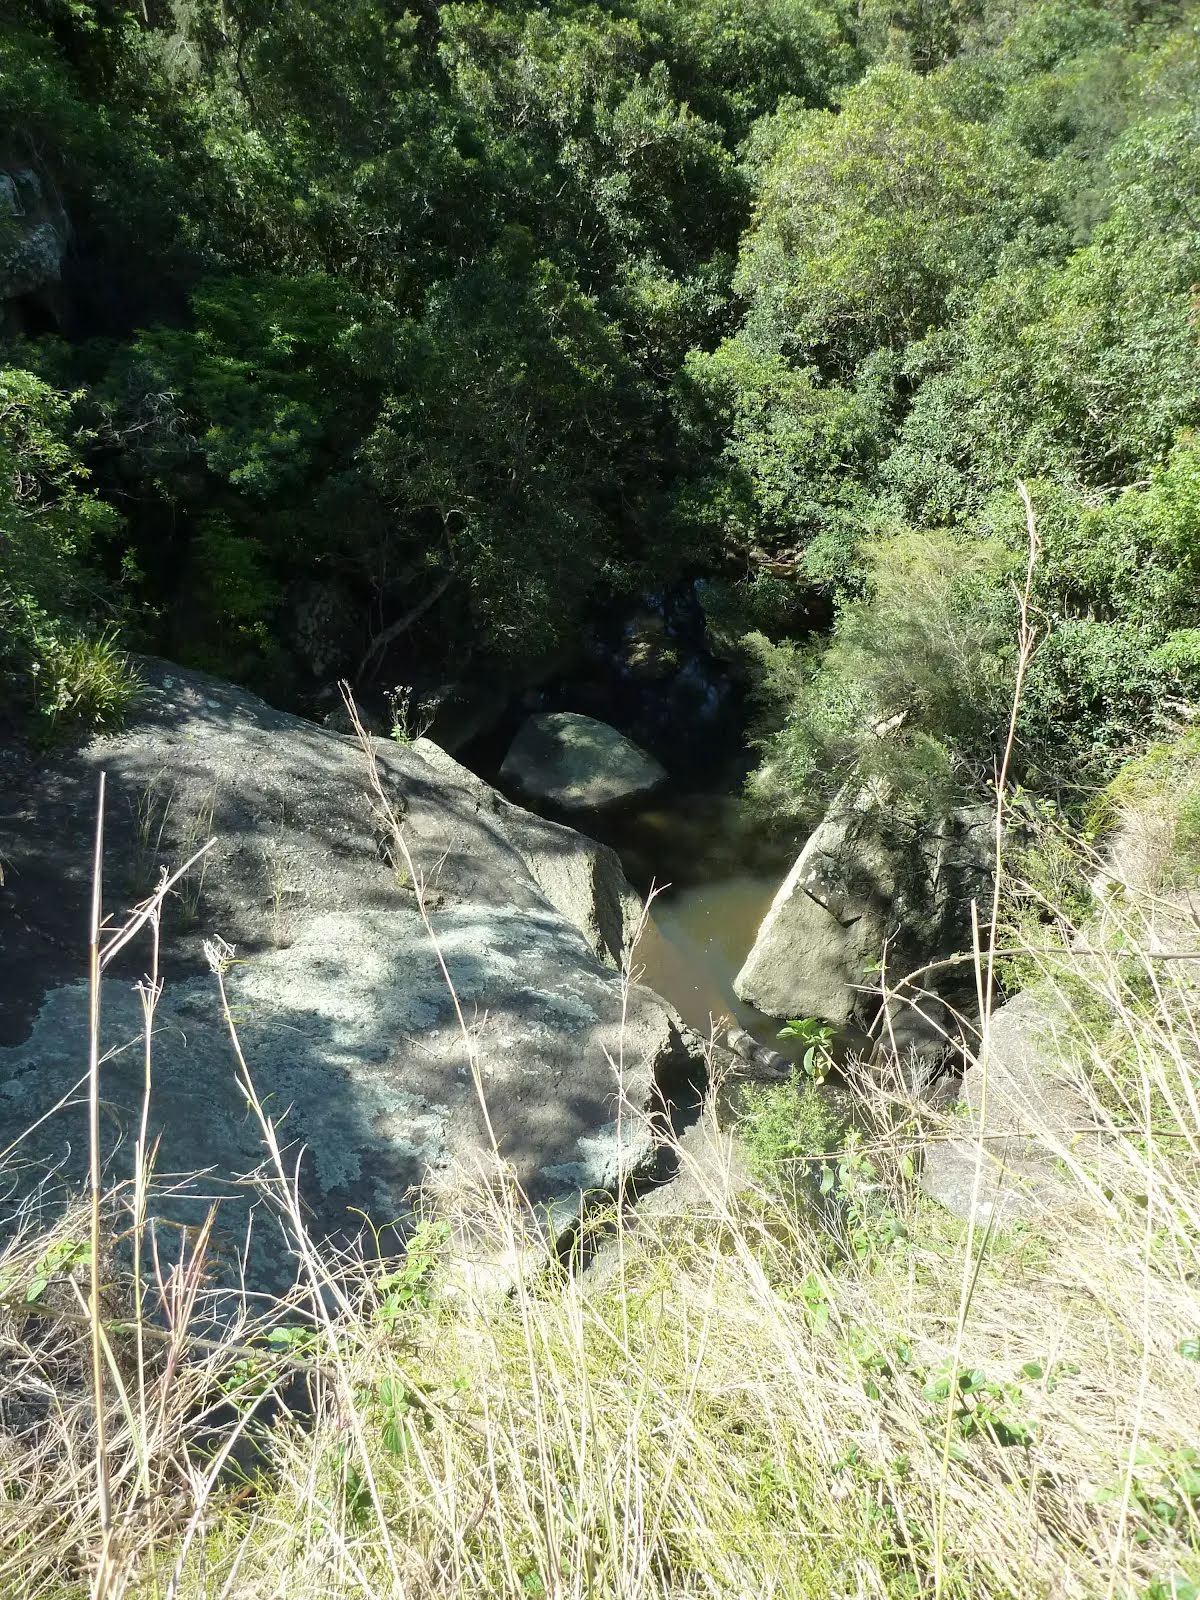
The starting point of an optional sidetrip. This little side trip takes you to Flaggy Creek, where you can see a little cascade if it rained recently. To start this optional side trip turn right here. On returning from this side trip turn right when you get back to this intersection. Details below.
After another 10 m (from the Fernleigh Track) continue straight, to head along Fernleigh Track.
After another 7 m (from the Fernleigh Track) veer right, to head along Fernleigh Track.
After another 10 m head through the bicycle barrier.
After another 75 m (from the Fernleigh Track) turn left, to head along Fernleigh Track.
Keep right.
After another 55 m (at the intersection of Fernleigh Track & Grass Tree) continue straight, to head along Fernleigh Track.
After another 10 m (from the Fernleigh Track) continue straight, to head along Fernleigh Track.
After another 260 m (from the Fernleigh Track) continue straight, to head along Fernleigh Track.
After another 5 m (from the Fernleigh Track) continue straight, to head along Fernleigh Track.
After another 235 m (from the Fernleigh Track) continue straight, to head along Fernleigh Track.
After another 450 m (from the Fernleigh Track) continue straight, to head along Fernleigh Track.
After another 10 m (from the Fernleigh Track) continue straight, to head along Fernleigh Track.
After another 100 m head through the tunnel (about 160 m long)
At the intersection of Fernleigh Track & City Road continue straight, to head along Fernleigh Track.
After another 305 m (from the Fernleigh Track) continue straight, to head along Fernleigh Track.
After another 25 m (from the Fernleigh Track) continue straight, to head along Fernleigh Track.
After another 25 m pass a seat (7 m on your right).
After another 560 m (from the Fernleigh Track) continue straight, to head along Fernleigh Track.
Then pass the water tap (on your left).
After another 480 m (from the Fernleigh Track) continue straight, to head along Fernleigh Track.
After another 10 m (at the intersection of Fernleigh Track & Brisbane Water Road) continue straight, to head along Fernleigh Track.
After another 180 m (from the Fernleigh Track) continue straight, to head along Fernleigh Track.
After another 5 m (from the Fernleigh Track) continue straight, to head along Fernleigh Track.
After another 15 m pass the "Fernleigh Cafe" (75 m on your right).
Then pass a seat (on your right).
After another 255 m (at the intersection of Fernleigh Track & Belmont Railway Line) continue straight, to head along Fernleigh Track.
After another 45 m pass a seat (on your left).
Then head through the bollard.
Continue another 15 m to find from the Fernleigh Track at the end.

This little side trip takes you to Flaggy Creek, where you can see a little cascade if it rained recently.
Turn map Directions & comments
From the Fernleigh Track Start (a footpath).
After another 75 m come to a waterfall.
The end.
Turn around and retrace your steps back the 75 m to the main route.
+
-
Terrain
Know the Hills, grading & facilities

Fernleigh Track


Grading
Class 1/6
Smooth & flat
Length 15 km
Time 4 h to 6 h
Quality of track Smooth and hardened path (1/6)
Gradient Flat, no steps (1/6)
Signage Clearly signposted (1/6)
Infrastructure Generally useful facilities (such as fenced cliffs and seats) (1/6)
Experience Required No experience required (1/6)
Weather Weather generally has little impact on safety (1/6)

Some facilities on route
Toilet: There are 2 on route, on average they are 5 km apart with the largest gap of 9.7 km.

Seat: There are 35 on route, on average they are 420 m apart with the largest gap of 1.7 km.


Order of key facilities on route
ItemFrom StartName & link to notes
Toilet
160 m[toilet]
Seat
180 m[seat]
Seat
690 m[seat]
Seat
1.6 km[seat]
Seat
1.9 km[seat]
Seat
2.3 km[seat]
Seat
3 km[seat]
Seat
3.4 km[seat]
Seat
3.4 km[seat]
Seat
3.5 km[seat]
Seat
3.6 km[seat]
Seat
4 km[seat]
Seat
4.8 km[seat]
Seat
5.3 km[seat]
Seat
5.8 km[seat]
Seat
5.8 km[seat]
Seat
6.6 km[seat]
Seat
7 km[seat]
Seat
7.6 km[seat]
Seat
7.7 km[seat]
Seat
8 km[seat]
Seat
8.2 km[seat]
Seat
8.6 km[seat]
Seat
8.8 km[seat]
Seat
9.1 km[seat]
Seat
9.3 km[seat]
Toilet
9.9 km[toilet]
Seat
10.3 km[seat]
Seat
10.4 km[seat]
Seat
10.7 km[seat]
Seat
10.8 km[seat]
Seat
11.3 km[seat]
Seat
11.6 km[seat]
Seat
11.8 km[seat]
Seat
13.5 km[seat]
Seat
14.7 km[seat]
Seat
15 km[seat]
+
-
Articles
Discover more details to thrive on track
+
-
Reviews & Feedback
Share your experience
+
-
Weather & Alerts
Check forecasts & closures
Show Full Weather
Alerts and Closures
Show all alerts
Show all alerts
Show all alerts
+
-
Other Journeys
Discover nearby and similar journeys
Some of the information and maps on this page was generated using data from the awesome © OpenStreetMap contributors.
Please see how you can embed some widgets, access data and other stuff to that might be helpful.